
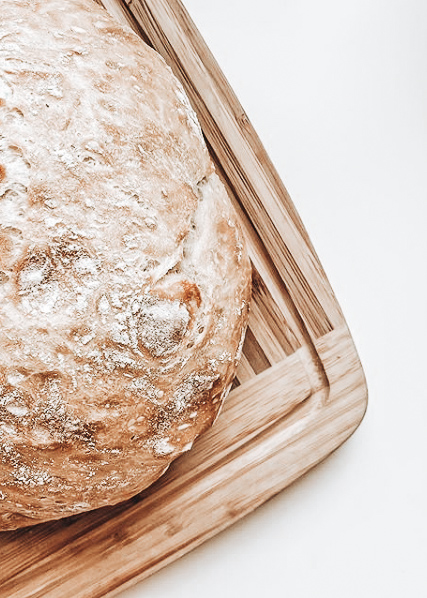
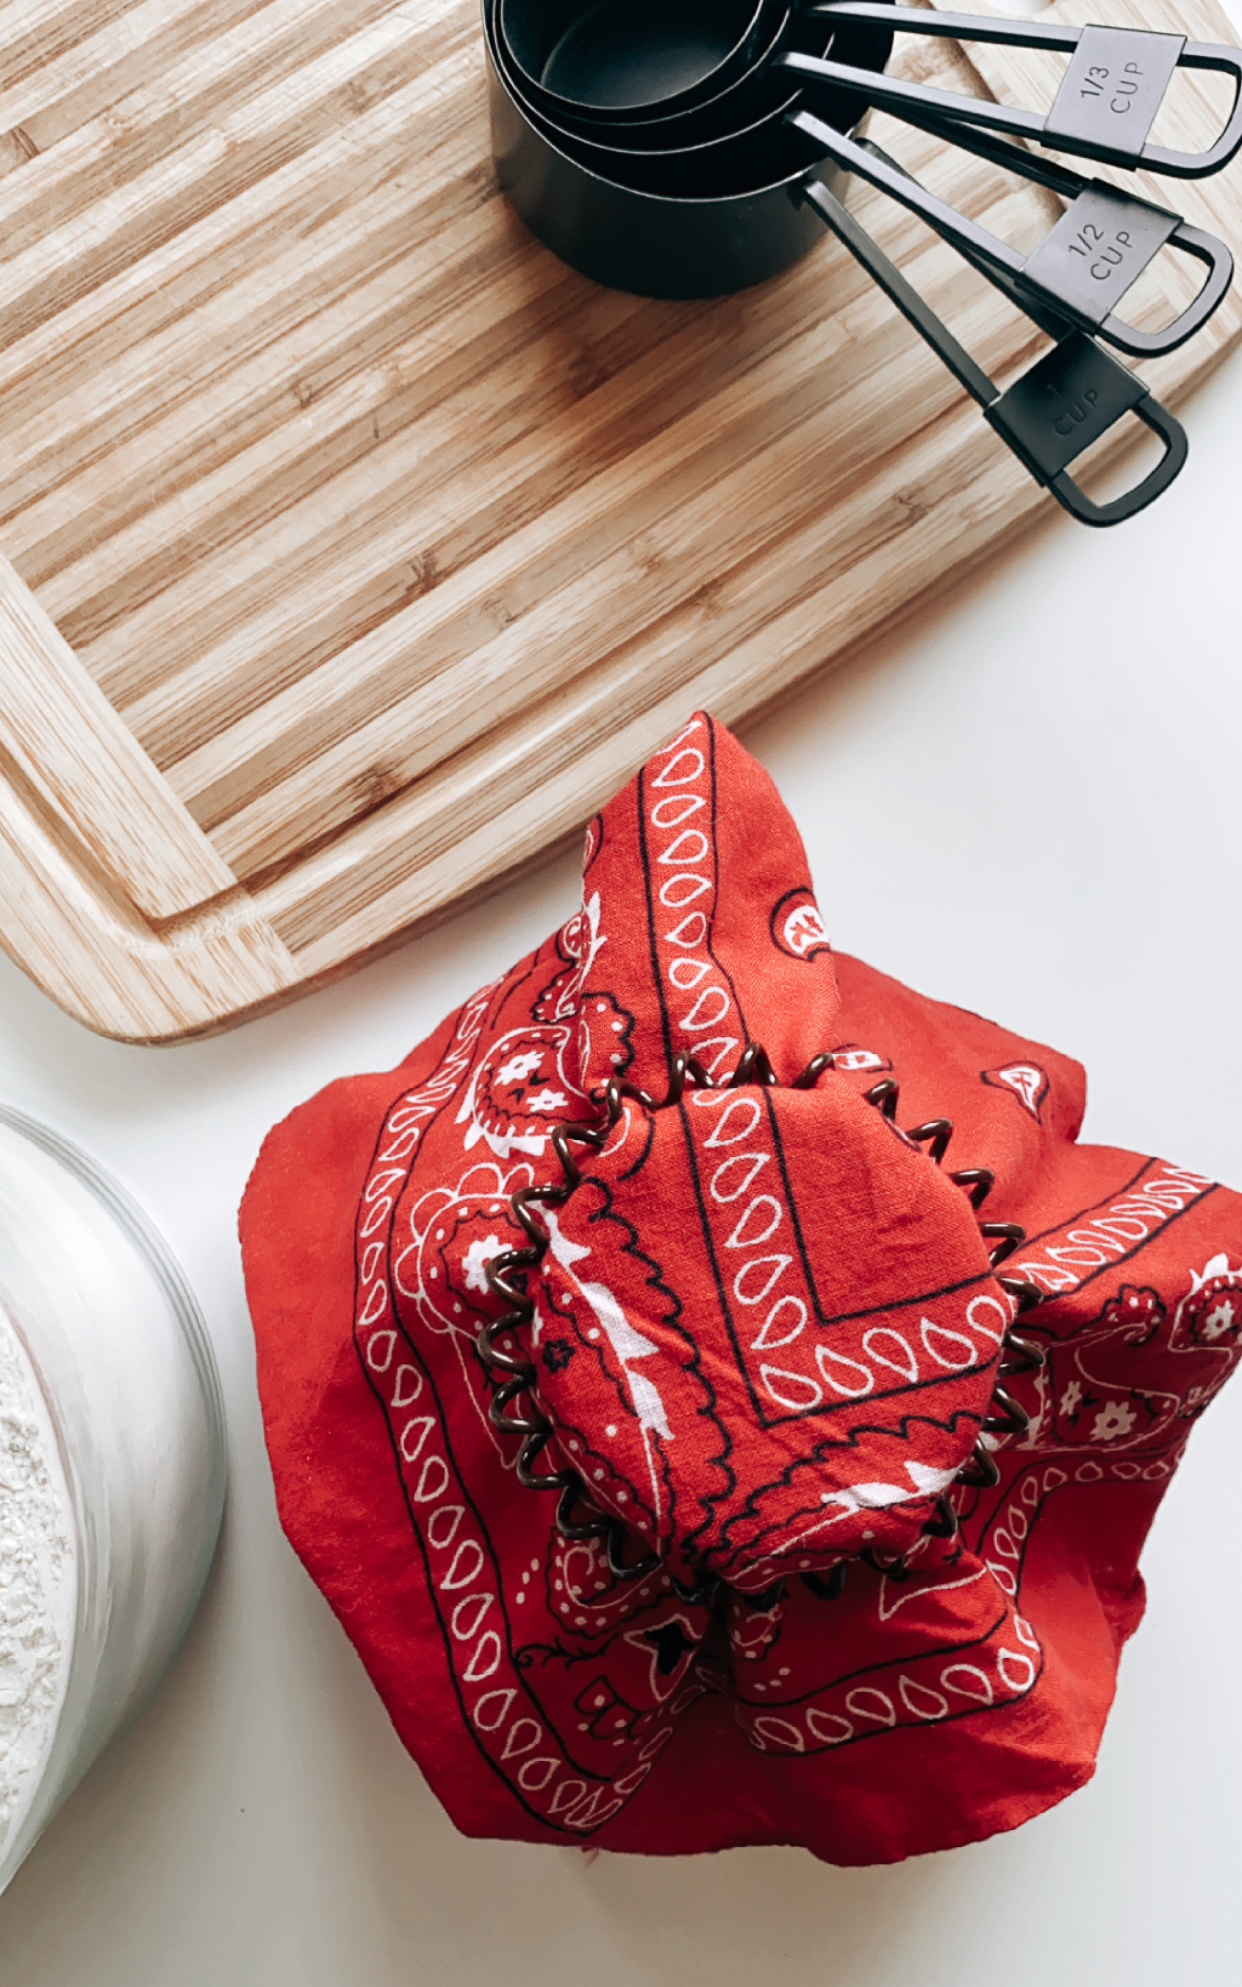
It’s quite comical to me how it’s suddenly a “trend” to have a sourdough starter. As if it isn’t one of the oldest types of bread (I googled it, cuz #nerdstatus, if you’re wondering the earliest discovery was 3700 BCE.) Nevertheless, its an art form that seems to have been lost in recent years, (decades?) But have no fear. Making a sourdough starter is super easy! And you only need 2 ingredients (and they’re probably already in your pantry.) See, told you this was a super easy sourdough starter recipe.
Now, before you skip to the recipe, make sure you read through the troubleshooting section! It’s an easy process, but this is basic kitchen chemistry so depending on what flour you used, and what temp you store it at, there can be some variation!
So let’s get cracking shall we?
What is a Sourdough Starter?
Ok, this sounds gross, but remember, basic kitchen chemistry. A Sourdough starter is a little colony of wild yeast, feeding off flour and water.
When you make a sourdough starter, you’re basically “catching” this wild yeast and nurturing it with constant feeding, so you’re basically gonna be a sourdough momma. Look at you go.
Once you’ve raised a strong independent sourdough yeast colony, it will be responsible for making your bread rise as it releases carbon dioxide. #proudsourdoughmomma
Grab your science caps and let’s get our Bill Nye on for a second. The bacteria in the starter (lactobacillus) will also release carbon dioxide, BUT not as much as the yeast. The bacteria is responsible for that signature sour tanginess in sourdough bread from the lactic and acetic acid they produce.
It is important to nurture and grow the yeast colony in the starter so it is strong enough to make your bread rise. This takes time, but it’s crucial if you want your bread to rise.
PS – this is like a 2 week process, so don’t start this if you’re about to jet off to some topical island for a week
Easy Sourdough Starter Recipe
Remember how I said this process can be different for everyone? There are a lot of factors that can affect getting your starter up and going. But the basic process is the same for everyone.
To make your starter you need water and flour. See told you everything you needed was in your pantry. I don’t use fancy flour for my starter, I save that for the actual baking, to make my starter I just used King Arthur All Purpose Flour. Some people use rye flour, but rye has more bacteria that grows so it can be a bit deceiving when it comes time to determine if your starter is ready to bake with.
Ideal Sourdough Starter Environment
Not too hot, not too cold. Yeast likes it to be a bit warm but not hot. Keep your starter in a space between 68°F-75°F (20°C-24°C).
If it’s too hot, your process will slow, and your starter could separate entirely, if its too cold, the yeast won’t grow.
Making Your Starter
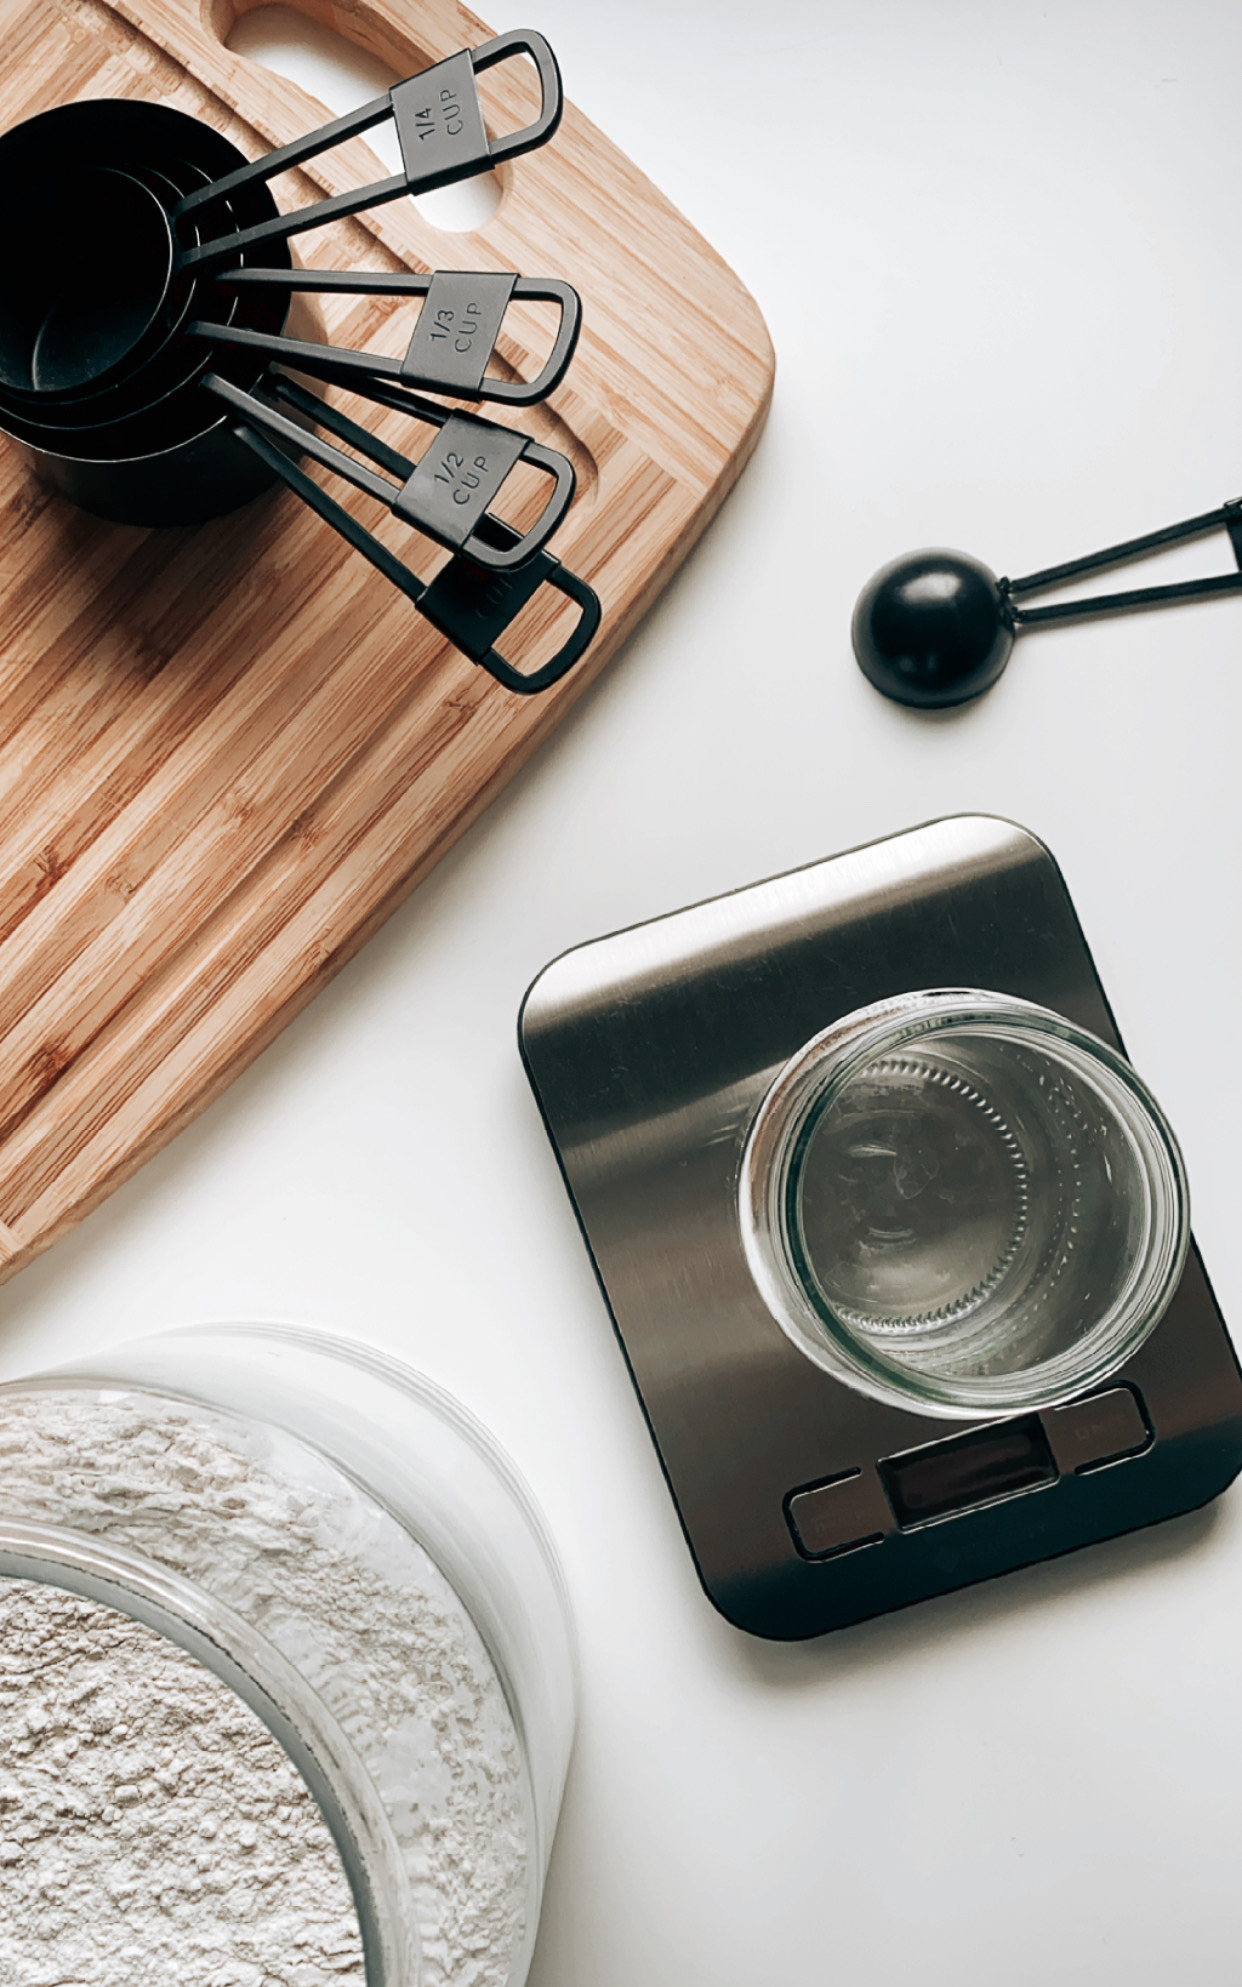
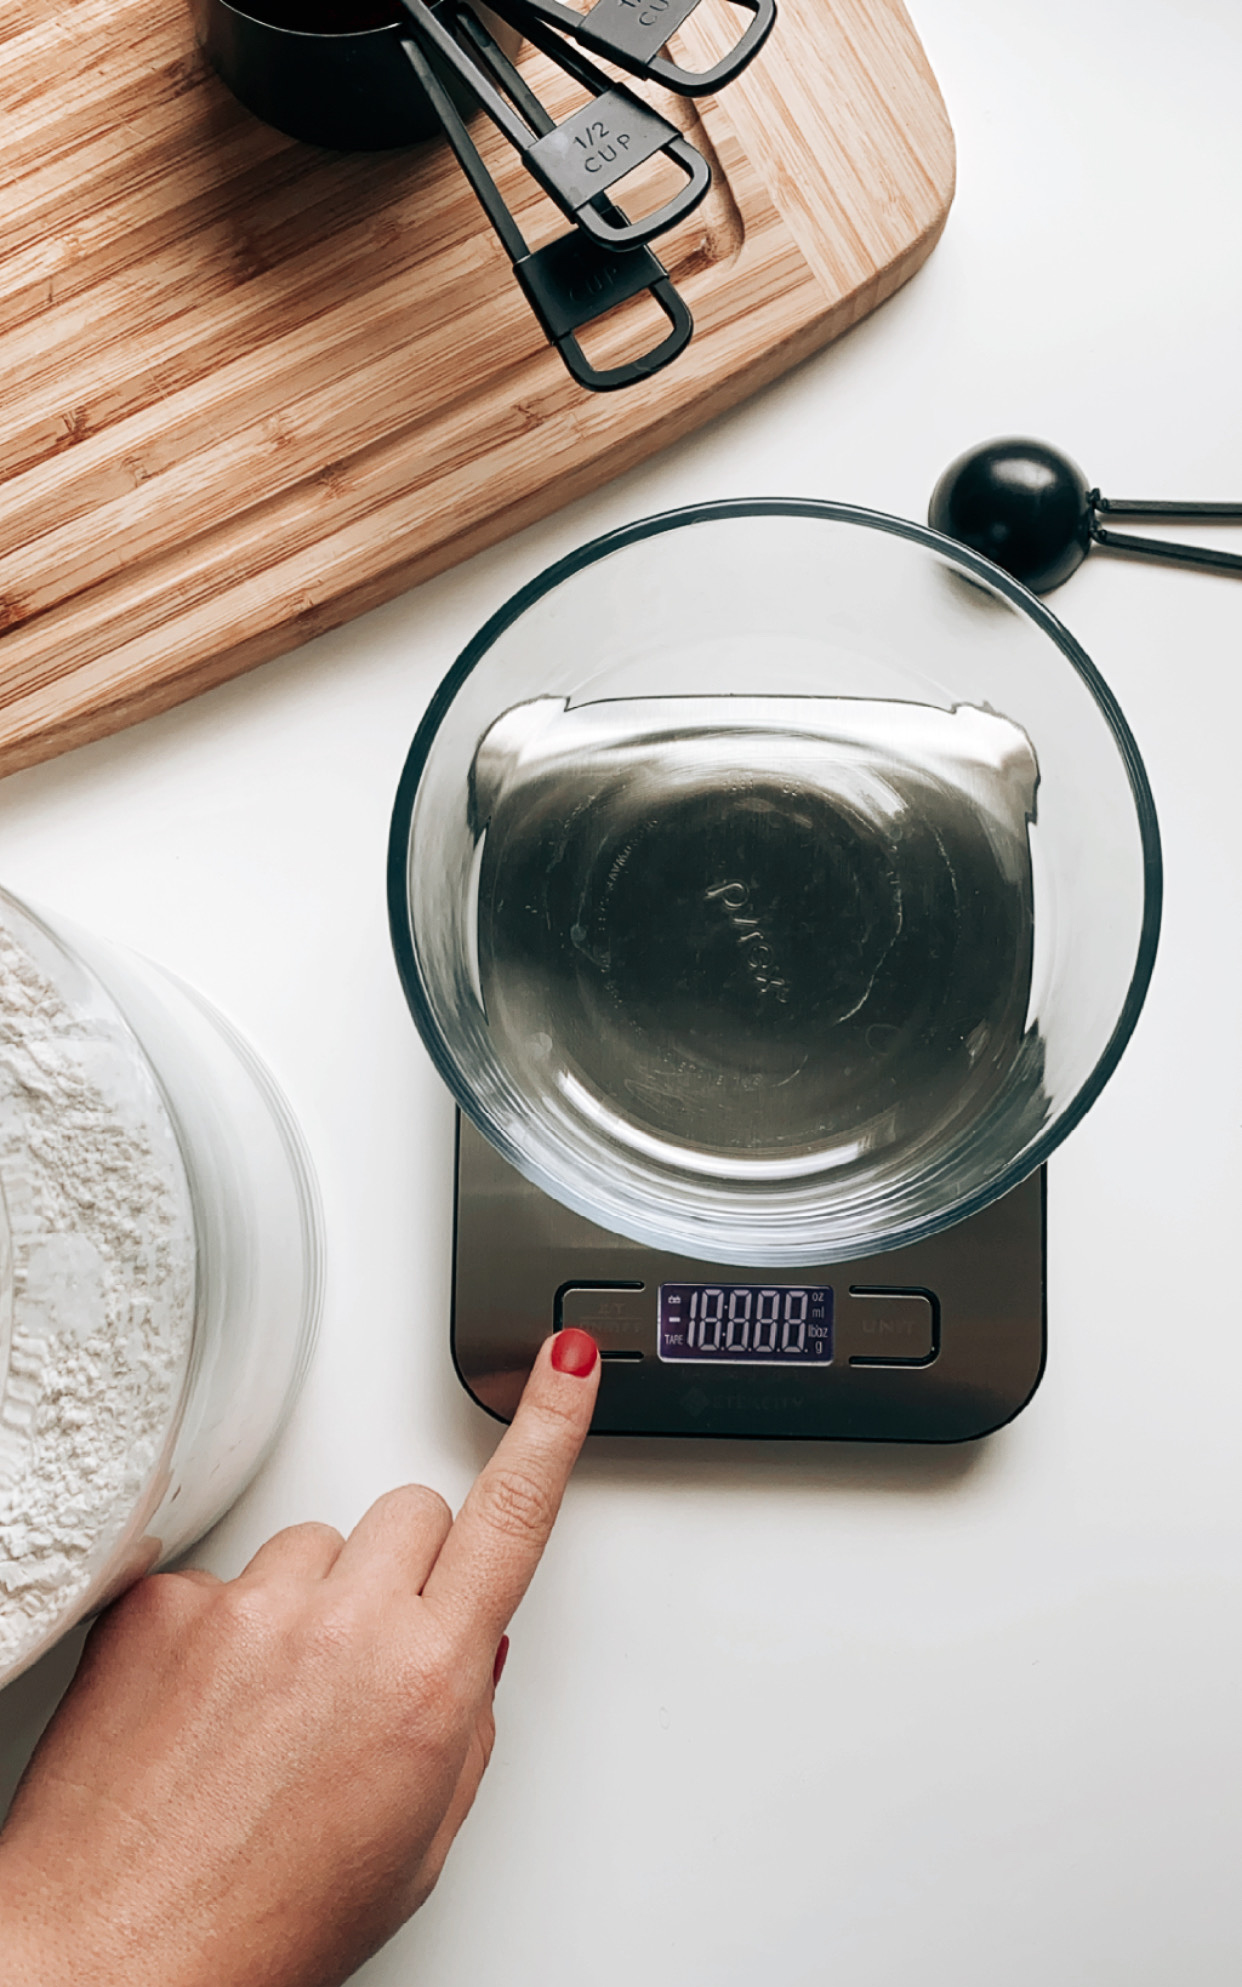
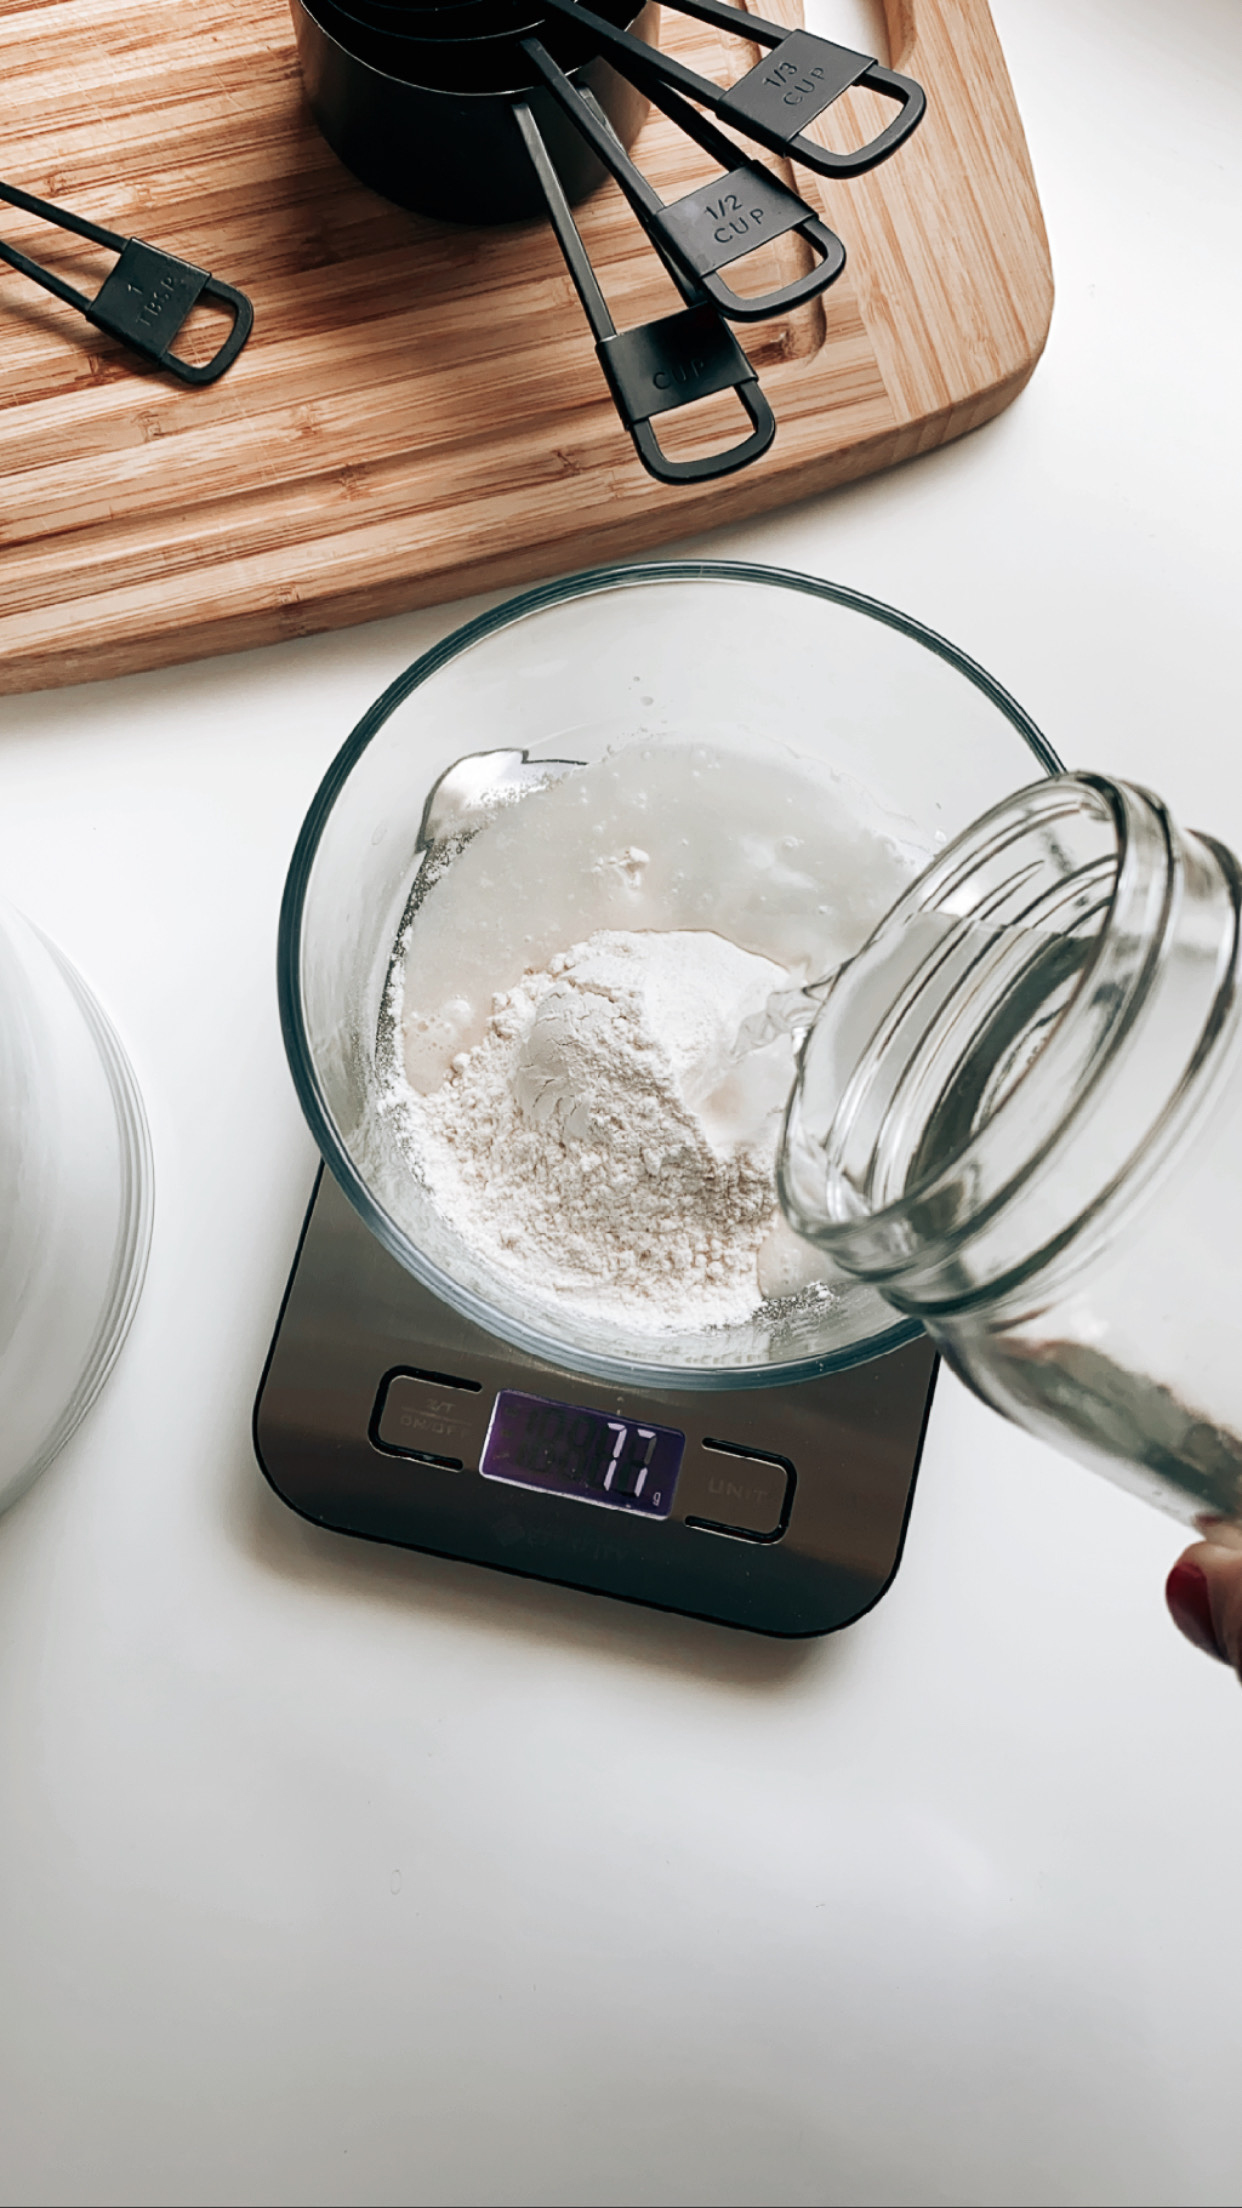
I feed my sourdough starter at what is called 100% hydration. That’s just fancy speak for equal parts water and flour by weight. Think back to science class, volume and weight are not equal, water weighs more than flour and your starter would be a big soupy mess. So grab yourself a food scale and let’s do this!
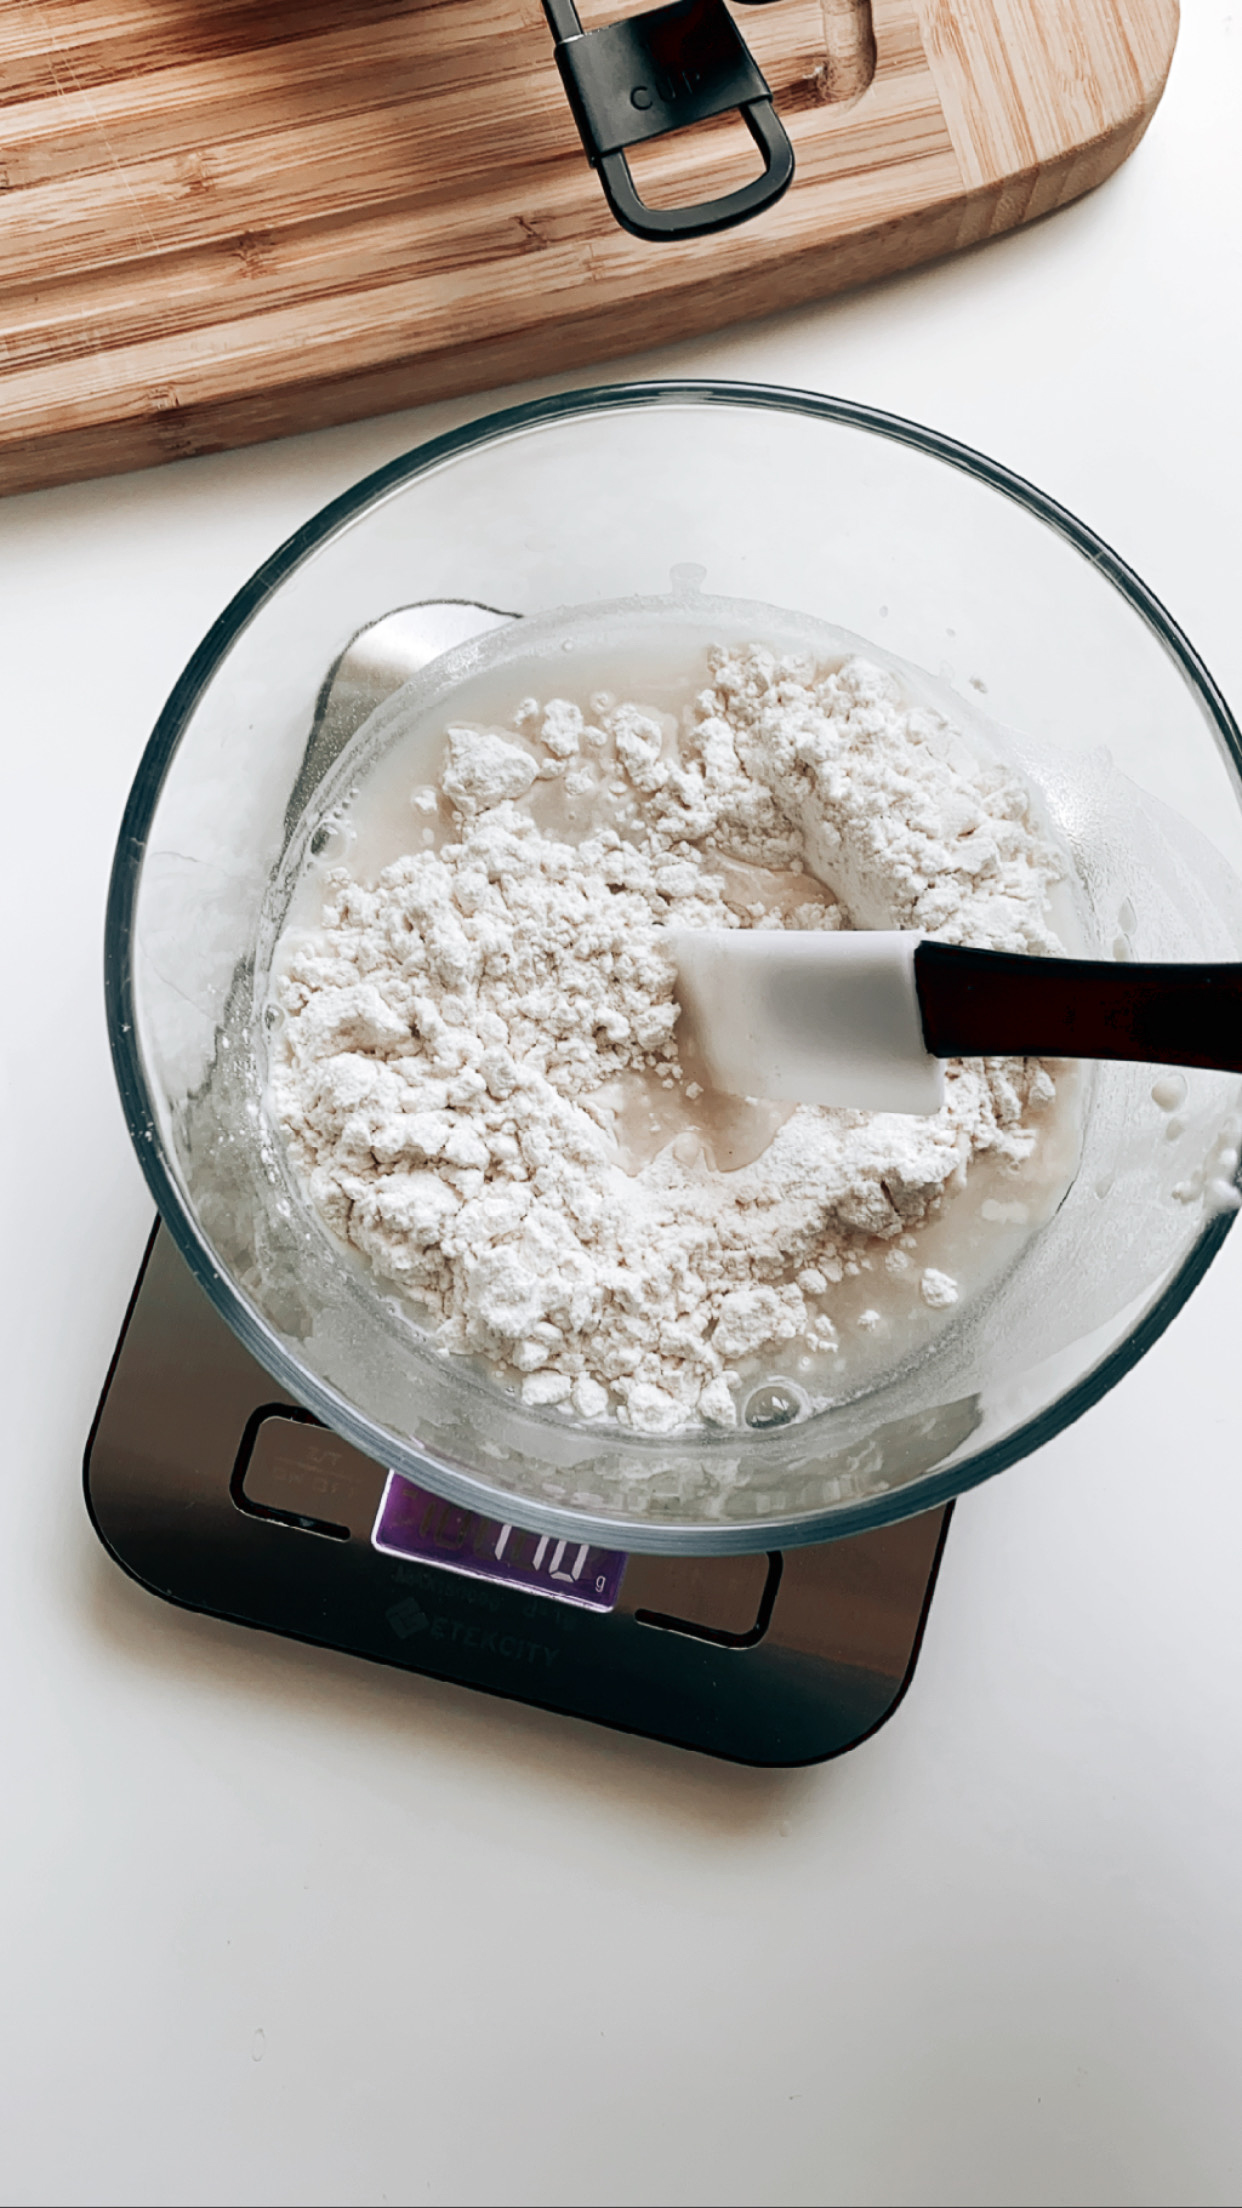
Day 1: Mix 50 grams of flour and 50 grams water in a glass container and mix until completely combined. Leave in a warm place, out of direct sunlight, covered with a cloth.
Day 2: Feed your starter (that just means add) 50 grams of flour and 50 grams of water. Mix it in with yesterday’s starter until it’s completely combined. Cover it back up and put it back where you had it yesterday.
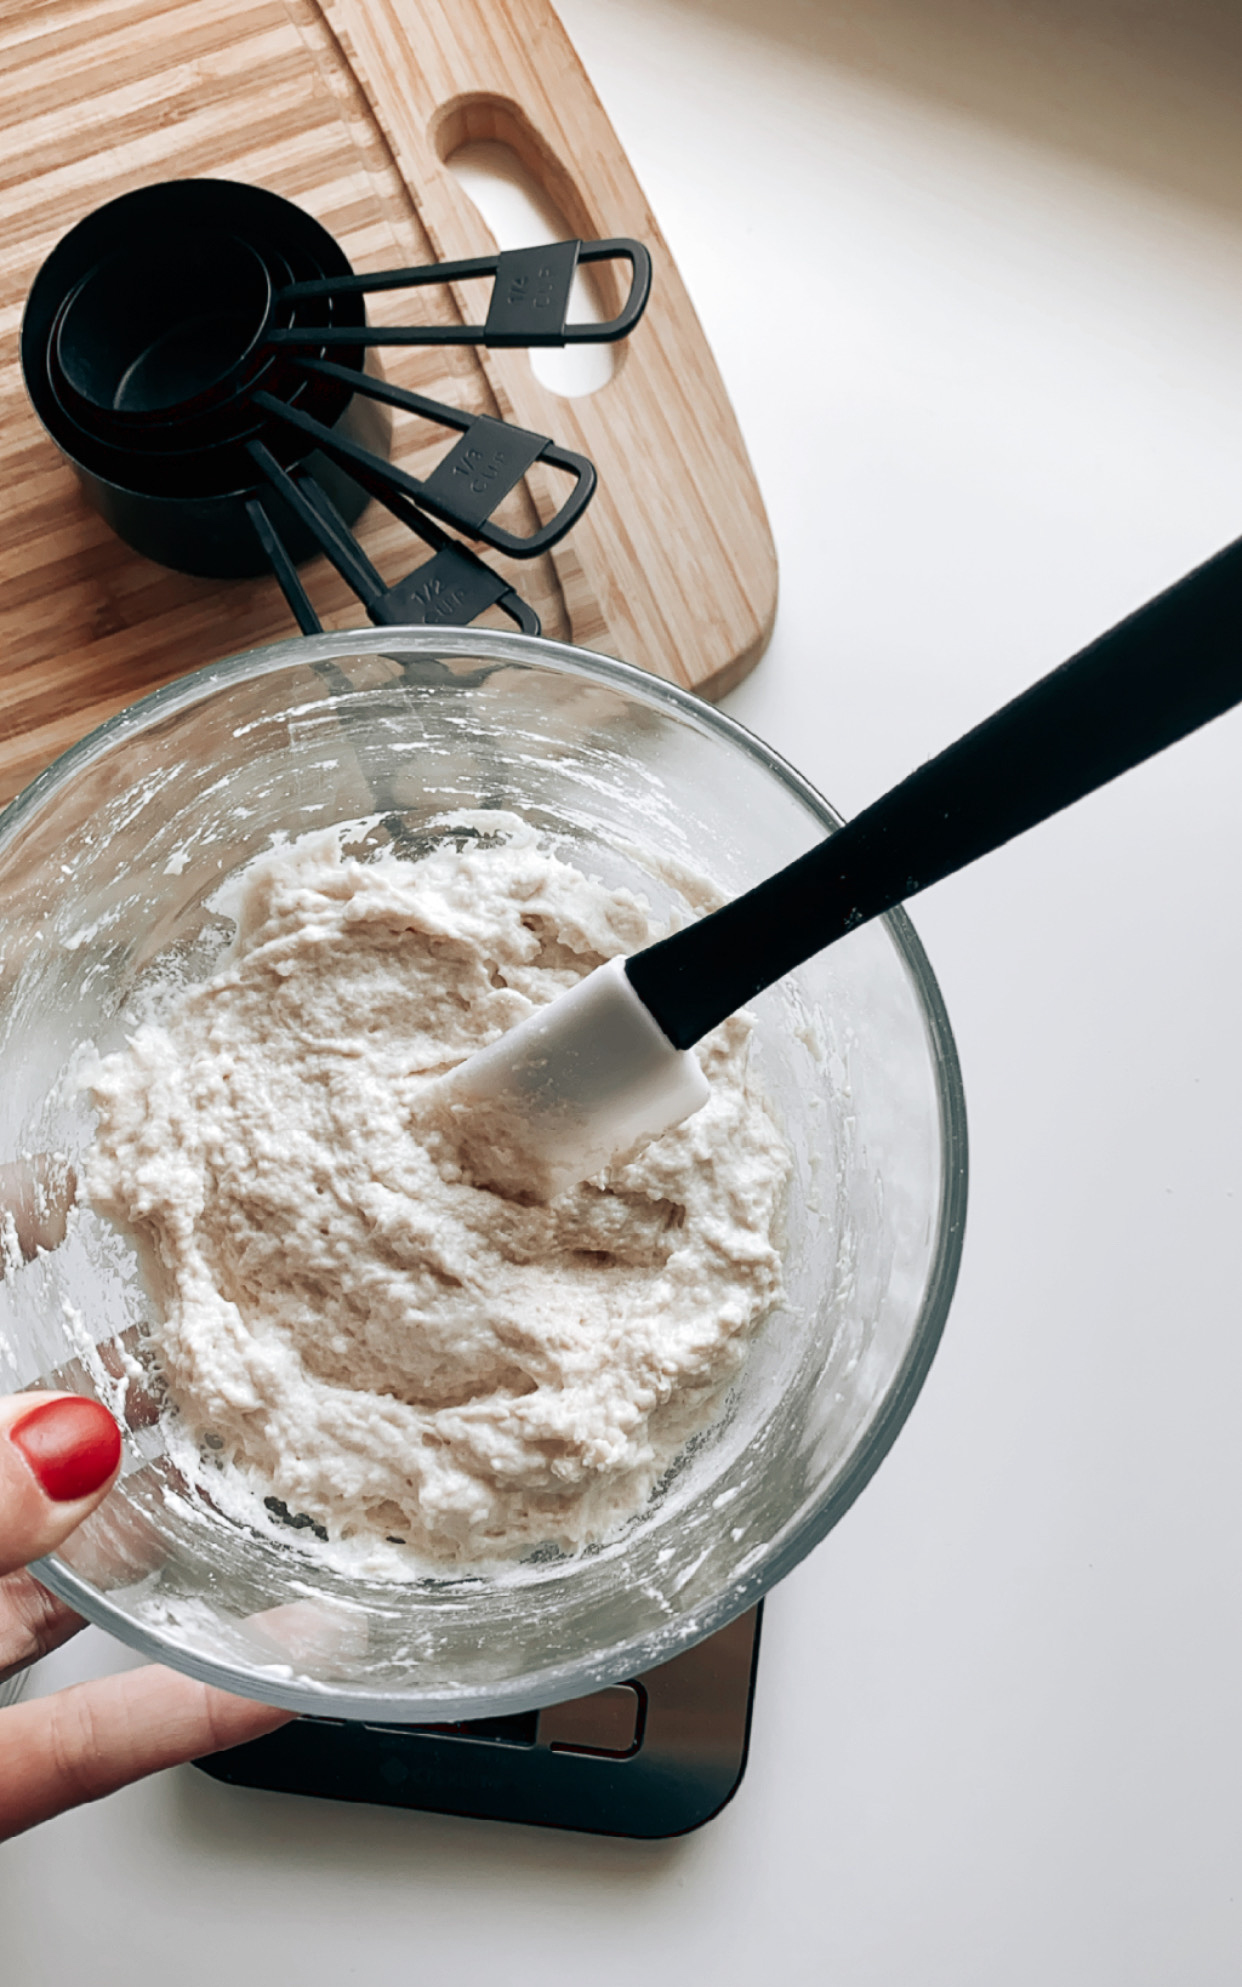
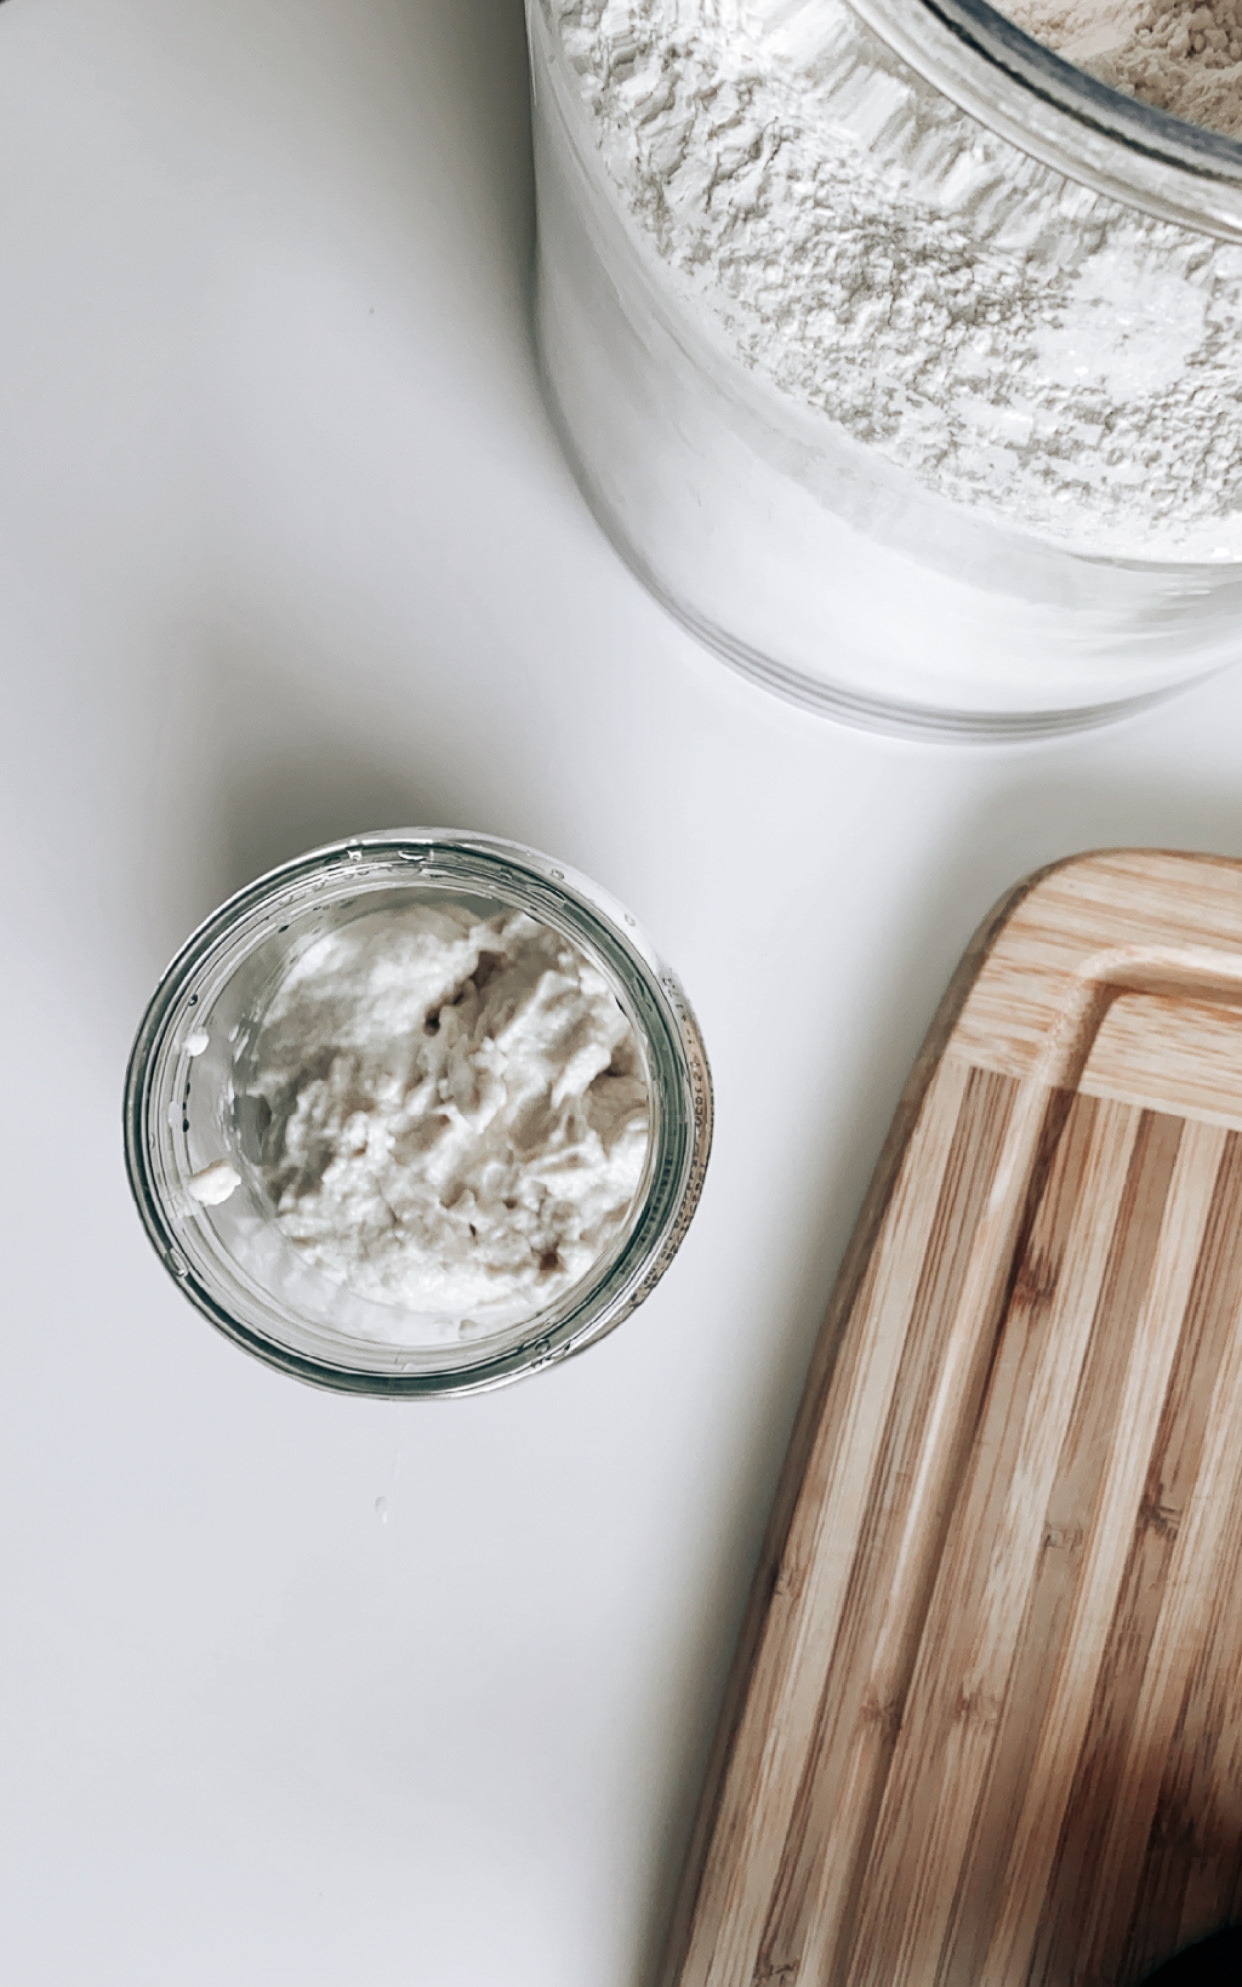
Day 3: Pour 50g of the starter into a bowl and feed it 50 grams of flour and 50 grams of water. (A ratio of 1:1:1.) Mix it well. Throw away the rest. Put your freshly fed starter into a clean jar and use a rubber band to mark where the starter comes up to. A new clean jar marked with a rubber band will show clearly if the starter has risen or fallen.
Day 4-10: Pour 50g of the starter into a bowl and feed it 50 grams flour and 50 grams water, (A ratio of 1:1:1.). Mix until combined. Discard the rest. Put your freshly fed starter into a clean jar and use a rubber band to mark where the starter comes up to.
By day 4 or 5 your starter may have bubbles (or it may not yet and that’s totally fine!) and have a slightly sour smell. It’s not ready to bake bread with but it should have enough acid to be used in discard recipes!
Day 10: Your starter might be ready to use! Let’s test it.
Testing Your Easy Sourdough Starter
To see if your starter is ready to bake with, you’ll need your starter to double in size within 6 hours at room temperature 68°F-75°F (20°C– 24°C).
You will feed your starter at a higher ratio of flour and water to check if the yeast colony in your starter is large enough to get through this extra flour in under 6 hours. If it can’t, it will show the starter isn’t quite ready to bake a successful loaf with, we don’t want this. Paul Hollywood would be very upset. No handshake for you.
Ok, test time, take a deep breath and take 1 part starter and feed it 2 parts flour and 2 parts water (A ratio now of 1:2:2.) Mix it well in a new clean jar or glass. Place a rubber band around your glass jar to mark where the starter comes up to so you’ll be able to see how much it has risen later on.
Place the starter in a warm place, out of direct sunlight.
If it doesn’t double or triple within 6ish hours, it will need a bit longer. Continue twice feeding of 1:1:1 and try the test again later.
Maintaining the Starter
Yay! Our Sourdough Starter is big and grown and ready to take on the baking world by storm! But what do you do with it now?
An overly acidic starter can ruin the gluten structure in sourdough bread, which can make it extremely hard to bake with. To keep the acid content low, keep refreshing your starter 2-3 times a day at a 1:1:1 ratio, or twice a day at a 1:2:2 ratio. This may need to be increased if the environment is super warm.
Your starter will rise to its peak, and then collapse when the yeast has run out of food. You’ll want to use your starter when it has at least doubled in size but before it passes this peak and collapses.
Once your starter is well established, it can refrigerated when it isn’t being used. However, don’t send it off to bed hungry, feed it before placing it in the fridge. Feed it either 1:1:1 if you plan to use it within the next day or two, or 1:2:2 if it will be longer before you bake with it again.
The goal is always to keep our little yeast colony active and happy and the acid content low. Also, feel free to name your starter. Mine is named Frederick. He’s 2 months old now.
Sourdough Troubleshooting & FAQs
My starter is splitting & forming liquid
Check that the environment in which you are keeping your starter isn’t too warm. You may need to increase the feedings to once every 12 hours if this keeps happening.
My starter was bubbly at first and now it’s not rising
No worries, this was probably the lactobacillus bacteria in your starter forming bubbles, and not the yeasts. Bacteria also create bubbles while they convert sugars to lactic and acetic acid, but it’s the yeasts in the starter that will give rise to your bread. The yeast colony takes a little longer to establish themselves. Be patient and keep feeding and refreshing your starter young padawan.
I killed my starter
First of all, rude, second, you probably didn’t. Yeast is hard to kill. Unless it’s super contaminated with harmful bacteria or mold, you’ll probably be able to resurrect it. Just start up again with regular feedings and discards like we did days 4-10.
Will my starter get moldy?
If you keep up with regular feedings and place it in a fresh clean jar each time, your lactobacillus colony will be thriving. So the amount of lactic acid they produce will make it hard for mold and bad bacteria to grow.
If you do see mold growing on your starter or it develops a pink, red or orange tinge, bin it and start again.
That’s a wrap! Happy baking y’all!

